


 Back to index
Activating the Salesforce integration
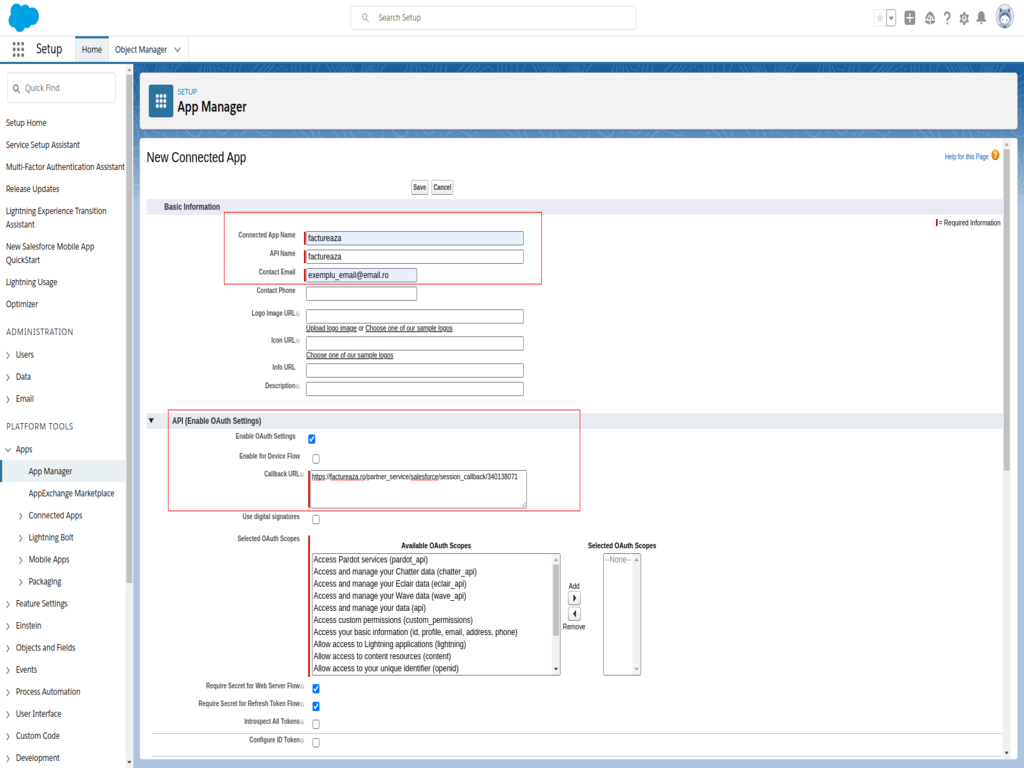
Using our Salesforce plugin you can export customer data or invoice data to your Salesforce account. To connect the two apps, you need to create a connected app in Salesforce with Enable OAuth Settings. A tutorial for creating connected apps you can find here: https://soft-builder.com/how-to-create-a-connected-app-salesforce/
Callback URL should be set: https://online-billing-service.com//partner_service/salesforce/session_callback/340138071 where 340138071 is your online-billing-service.com account id.
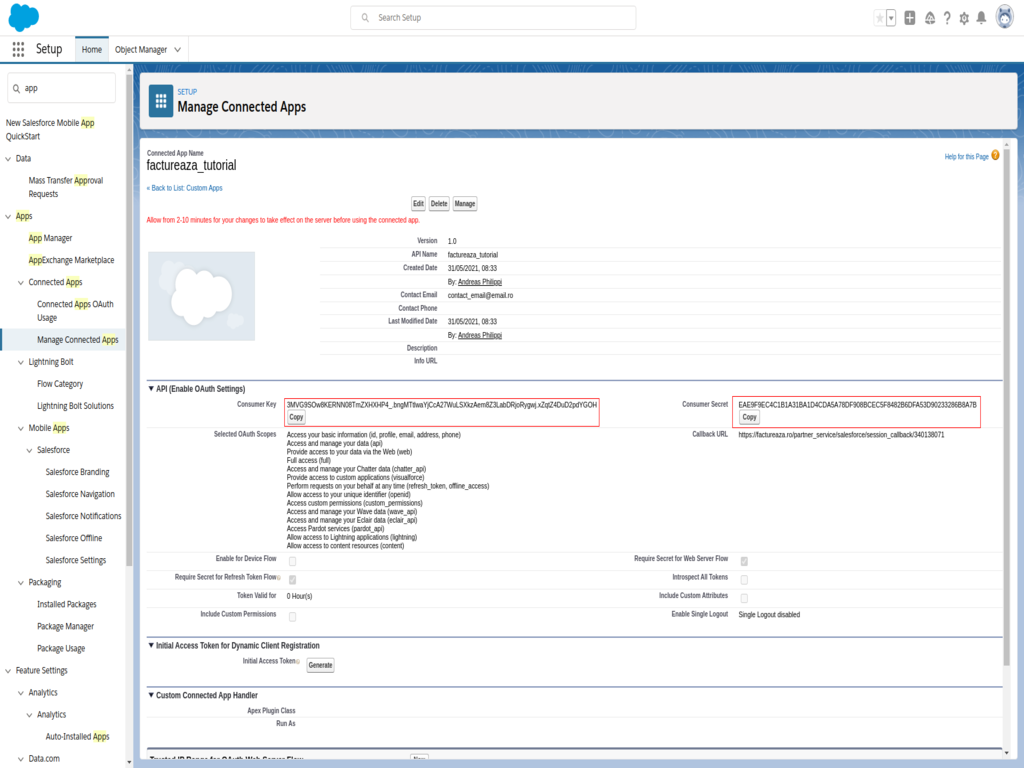
After that we can take the API key and the Private key from Salesforce to set them in the online-billing-service.com account.
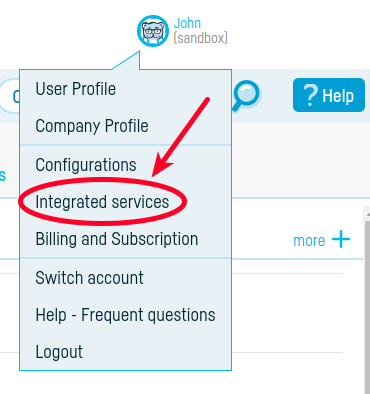
To enter data and configure the Salesforce module, go to the "Integrated Services" tab.
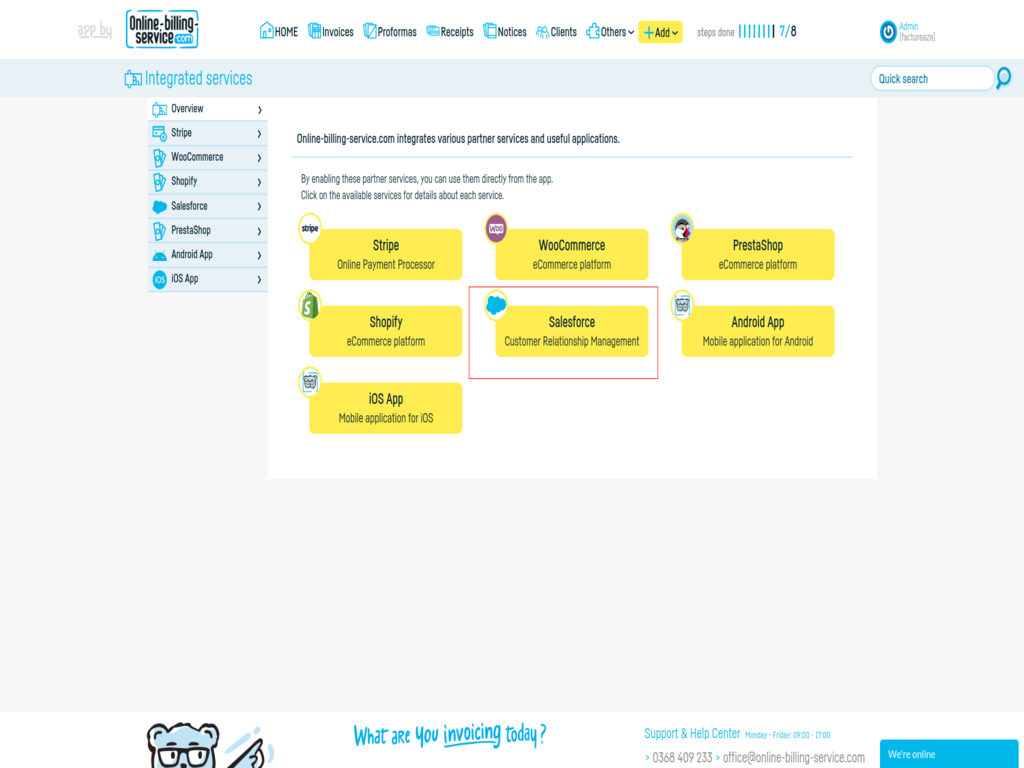
Click on "Salesforce Customer Relationship Management".
On the new page we set the API key and the Private key previously generated on Salesforce.
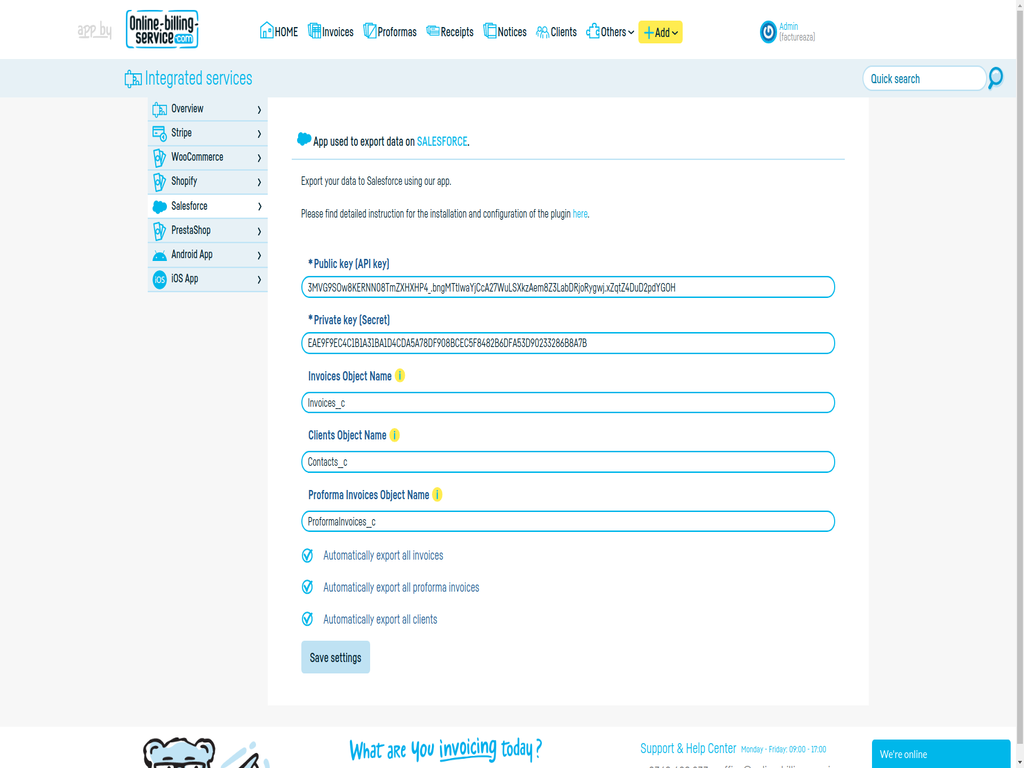
The object name is the name of an object that already exists on Salesforce. To create custom objects you can follow the steps in the tutorial: https://www.tutorialspoint.com/salesforce/salesforce_custom_objects.htm
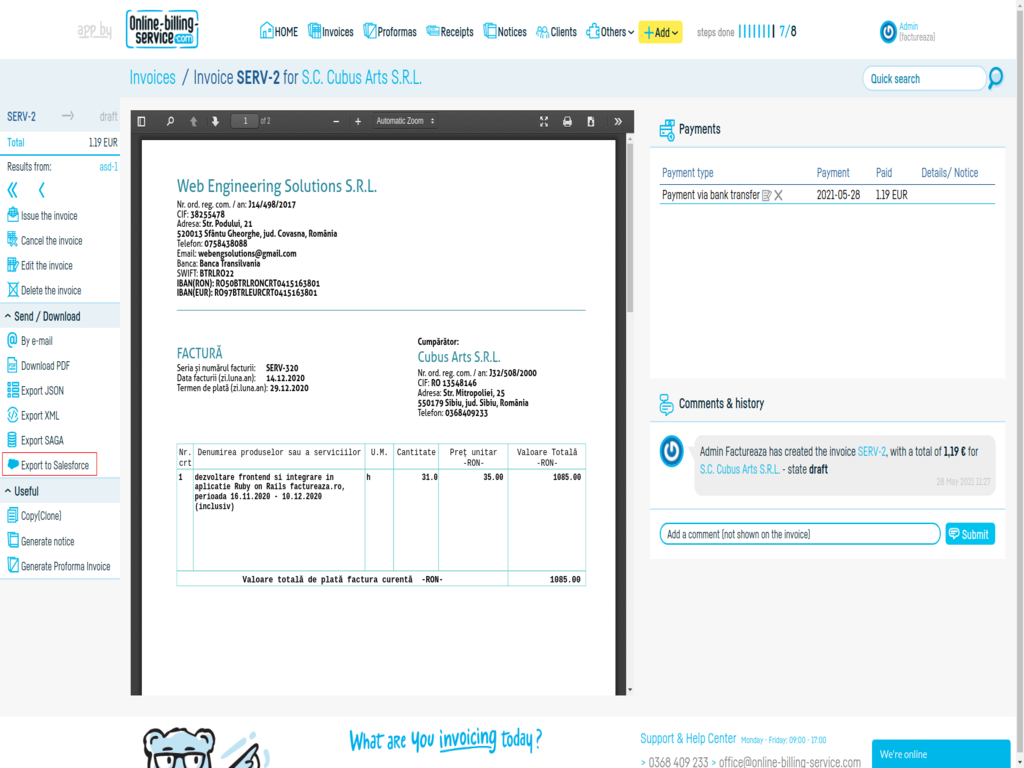
We only need one custom object, the fields will be generated automatically via the API. A new "Export to Salesforce" button will appear on existing invoices.
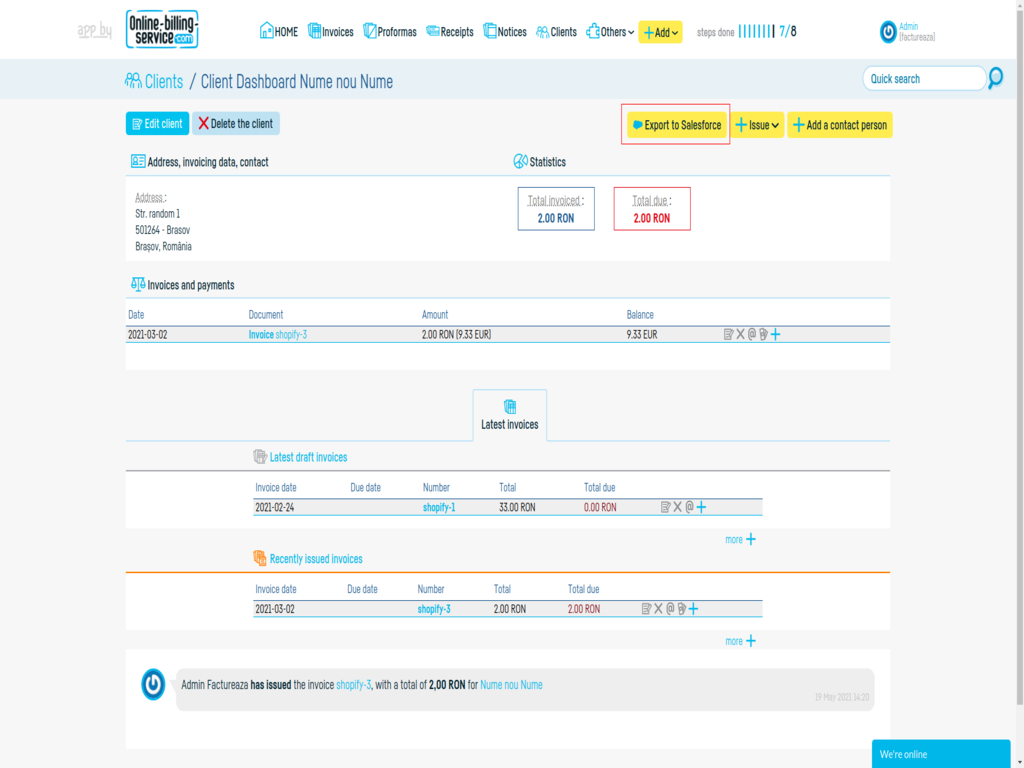
A button will also appear for each client.
Keep up the good work!
Back to index